San José
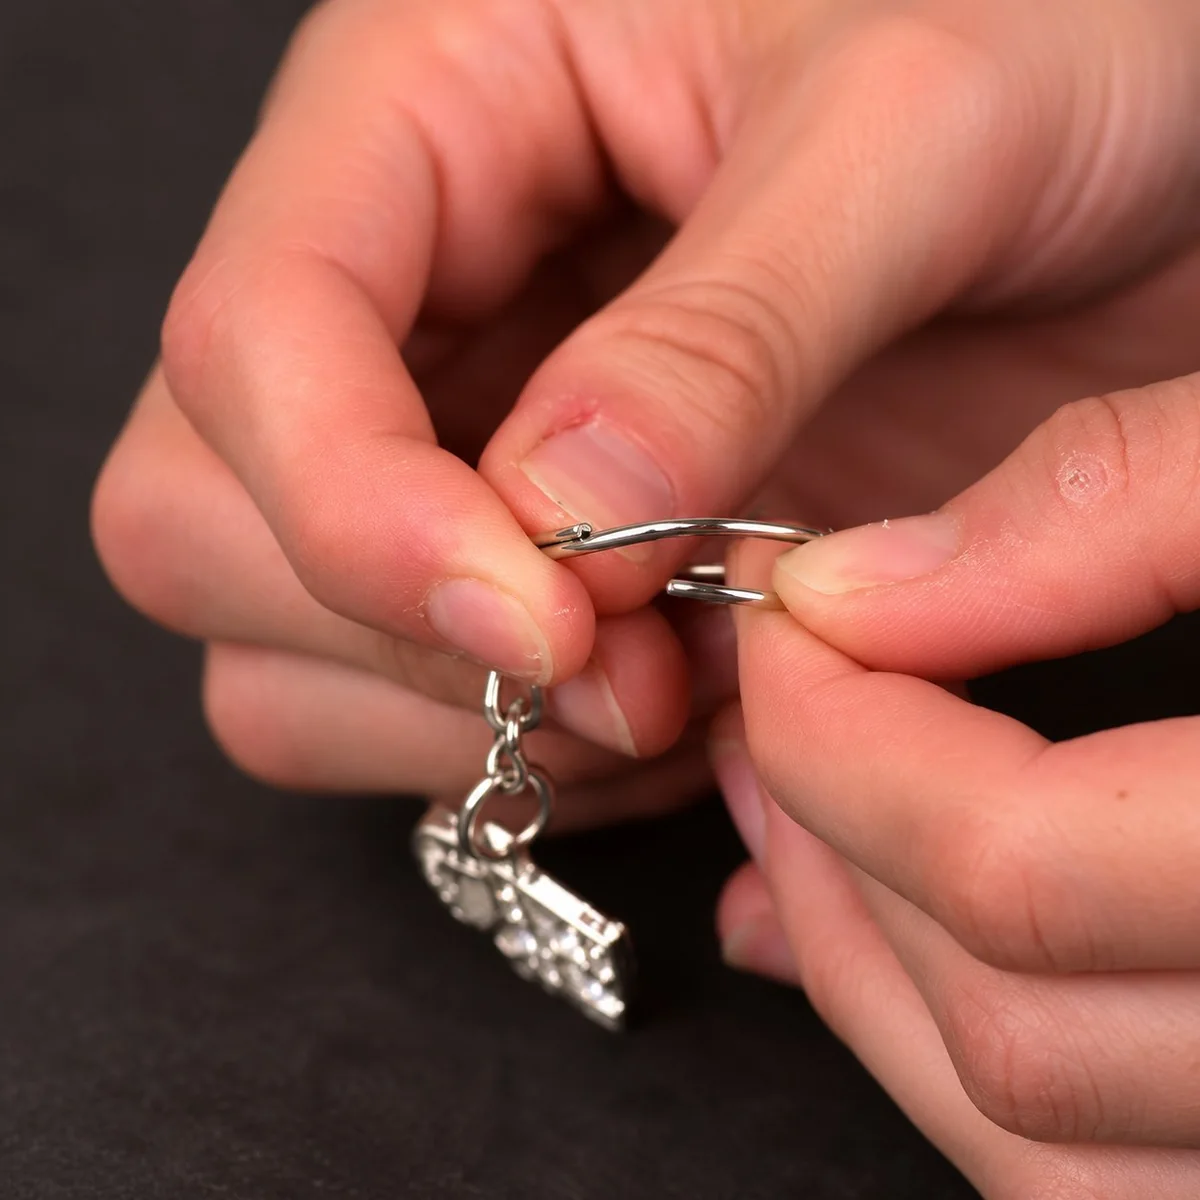
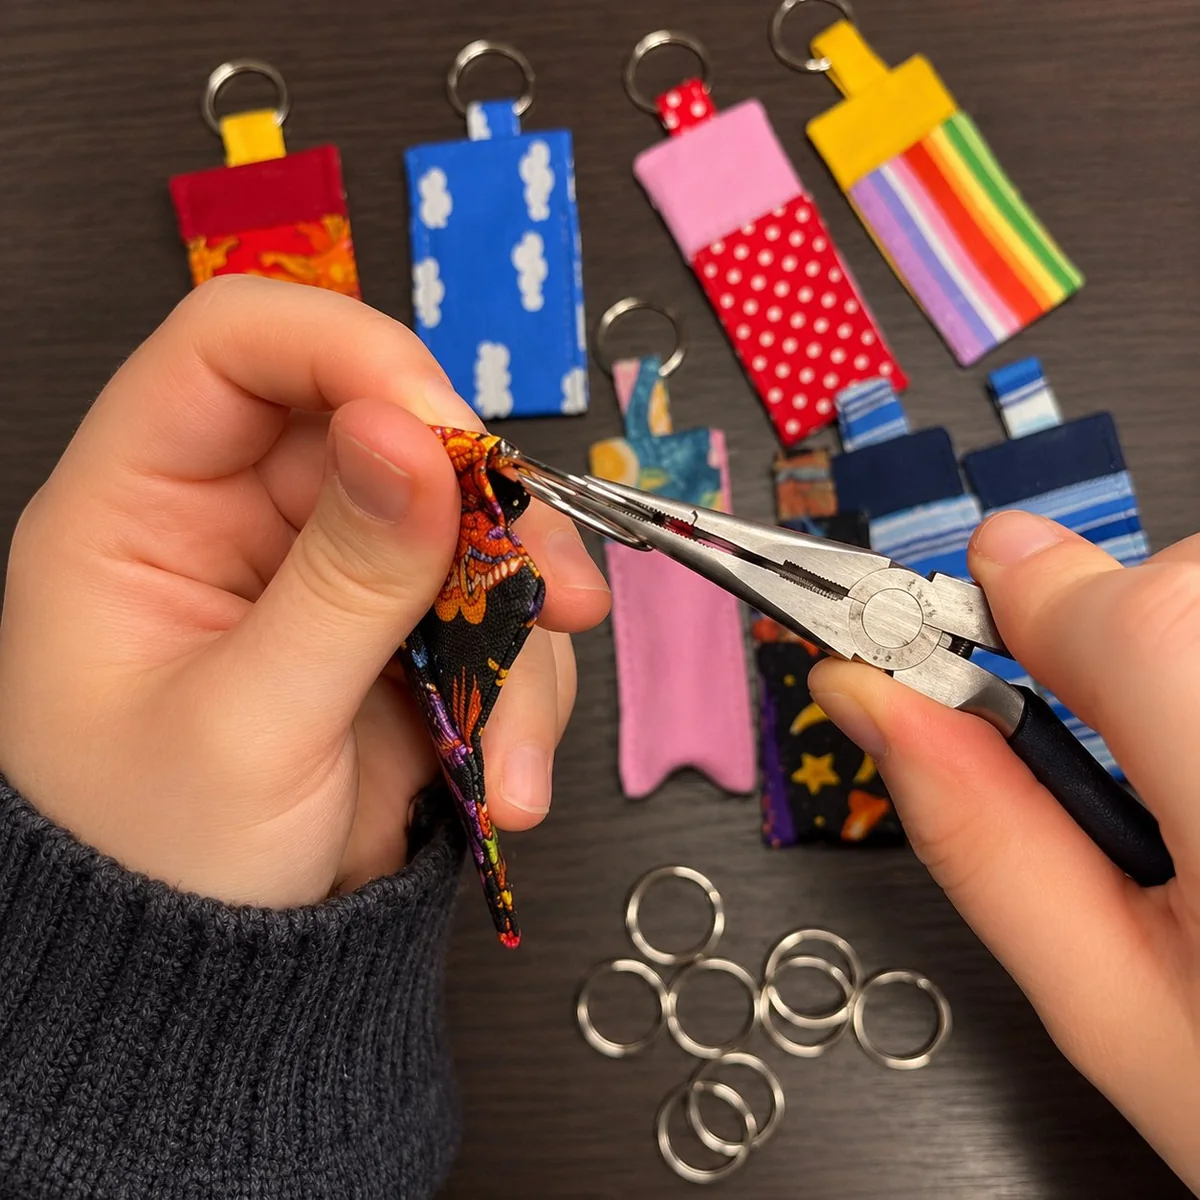
Use a purpose-made ring opener or two flat-nose pliers when possible to open a keychain ring. Don’t use your teeth. Work slowly, protect your fingers, and stop if the metal shows burrs or permanent deformation rather than forcing it further.
Key takeaways:
- A ring opener tool or two flat-nose pliers is the safest way to open any keychain ring or clasp, no teeth, no forcing.
- Split rings, jump rings, lobster clasps, and trigger snaps each open differently, and each fails a different way if you force it.
- Hardware strength depends on the exact material, wire gauge, and construction your supplier uses, not on the hardware’s name alone. Ask for the specification and test data rather than relying on a generic number.
- Before mounting anything on an ita bag, confirm the bag’s material, window construction, and the charm’s weight first.
- If durability matters for a custom order, tell your supplier the load, how often it’ll be opened, and the attachment direction, and let them recommend the hardware.
Opening Each Ring and Clasp Type
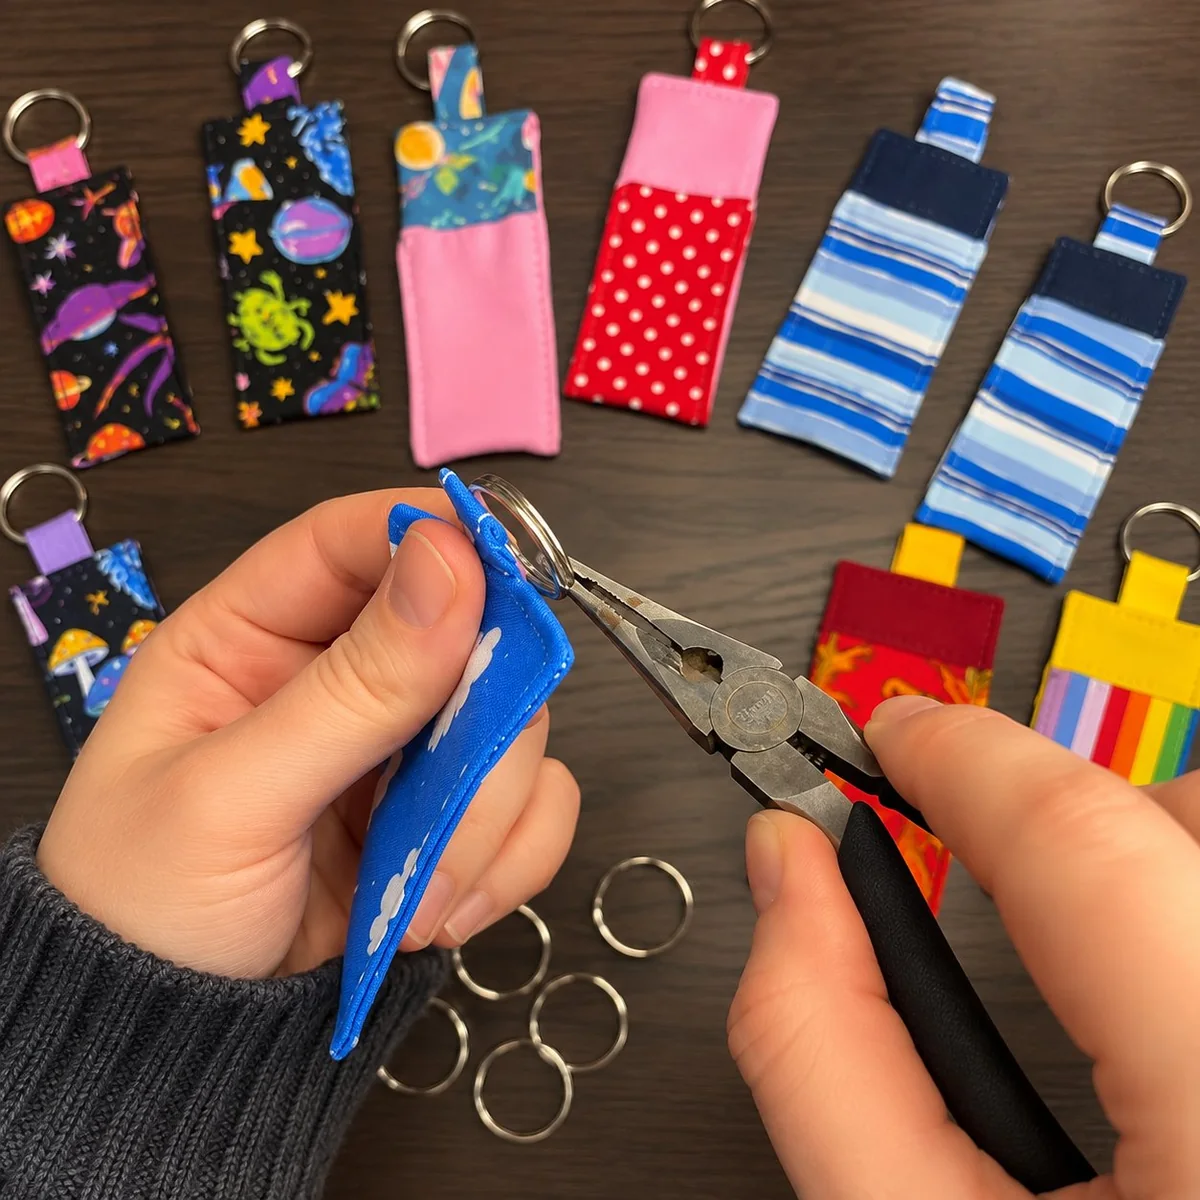
Split ring. This is the coiled ring most keys and keychains ship on. A ring opener tool (a small notched blade shaped to slide into the coil gap) is the safest way to catch the gap without slipping. If you don’t have one, wedge a flat-nose pliers tip or your thumbnail into the gap and push the top coil down and to the side, going in at an angle rather than straight down. Slide your key or charm around the ring, following the coil, until it sits on the base loop.
Jump ring. A jump ring is a single loop with a straight cut, not a coil, so it opens differently. Grip each side of the cut with two pairs of flat-nose pliers, one in each hand, and twist one side away from you rather than pulling it straight open. Working with pliers on both sides gives you more control than trying to hold one side with your fingers, and pulling the ends apart in a straight line weakens the metal and makes it harder to close cleanly afterward.
Lobster clasp. Press the small lever on the side of the clasp with your thumb or thumbnail, which pulls the spring-loaded gate open, then slip your ring or strap loop through the gap and release. This is the easiest of the four to operate one-handed, which is why bag charms and detachable keychains use it so often, and it doesn’t need a tool.
Trigger snap. Push the small trigger or lever at the base of the hook inward, which swings the spring gate open, then hook it onto a belt loop, bag ring, or D-ring and let go. The spring snaps shut on its own, so you don’t need to close anything manually.
Stick to a ring opener tool or flat-nose pliers as your first choice for any ring that won’t budge. Tweezers can work in a pinch for a small or tightly coiled ring, but avoid improvised tools like a screwdriver tip, a knife edge, or your teeth, since these are the most common ways people cut a finger or gouge the plating while trying to force a stuck ring.
Attaching Keychains to Bags, Belts and Its Bags
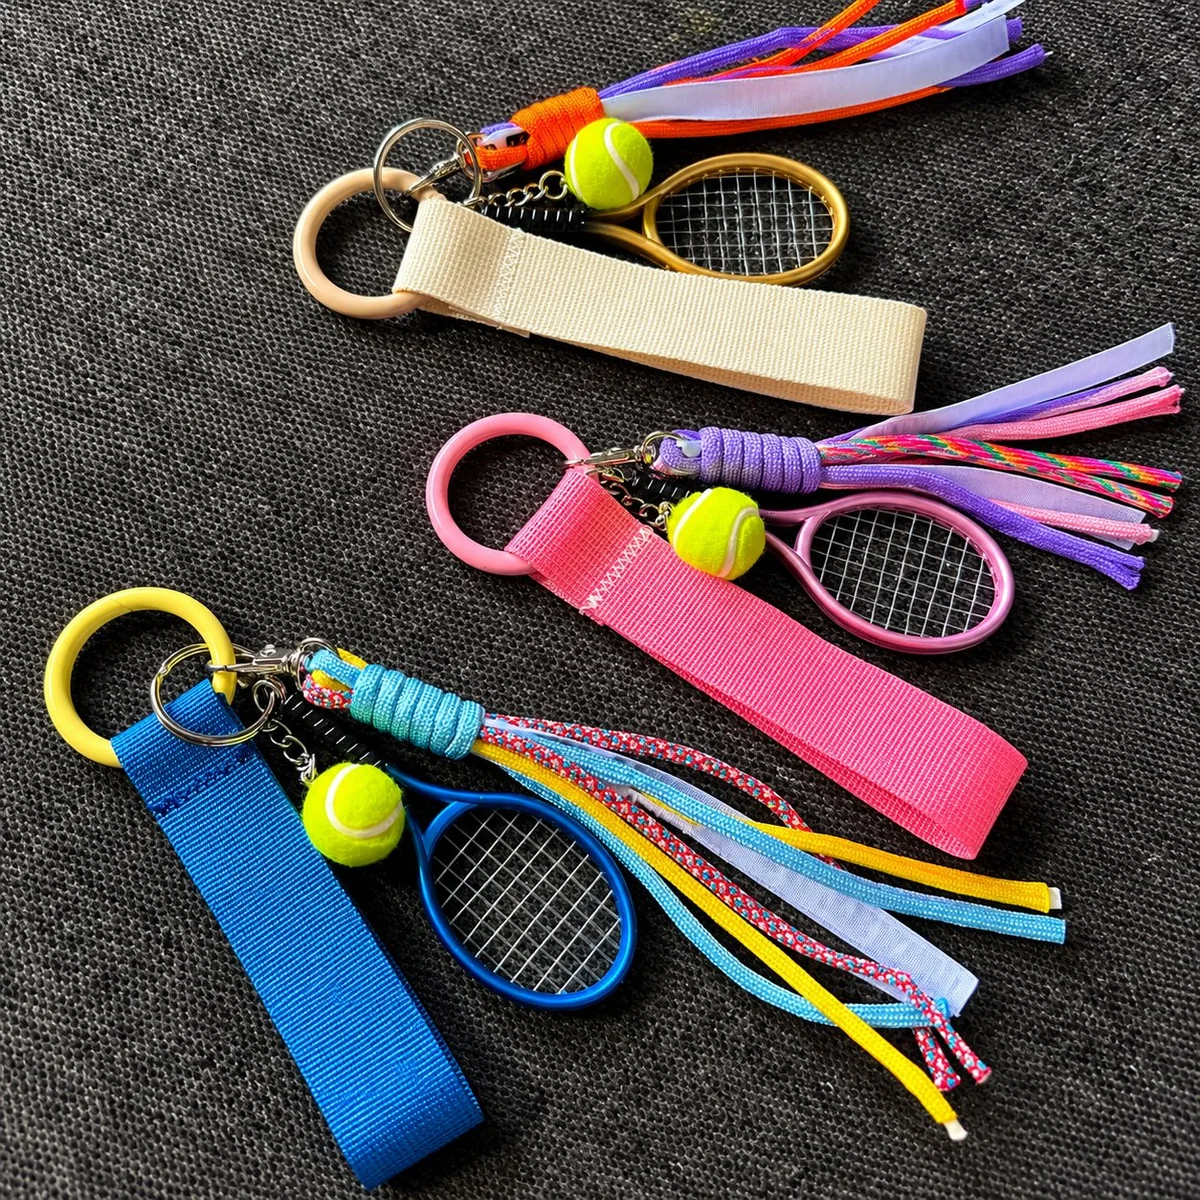
For a standard bag or belt loop, a lobster clasp or trigger snap keychain clips directly onto the loop and needs no other hardware. For an ita bag specifically, the charm usually attaches one of two ways: through a small pin backing that pushes through the bag’s clear window panel, or hung from a short chain or ring clipped to the bag’s existing zipper pull or D-ring.
Before you pick either mounting style, confirm the bag’s window material and thickness, the charm’s weight, and whether puncturing the window is actually acceptable for that bag. A pin backing punctures the window material, which isn’t reversible and isn’t something every ita bag owner wants done to a display panel, and a heavier charm can stress a thin window or stretch out a zipper pull over time if the mount isn’t matched to its weight.
A badge reel, the retractable clip common on ID badges, works well for a keychain you want to keep tethered but pull out to use, since it extends and snaps back rather than dangling loose. A carabiner-style clip tends to hold up to more frequent open-and-close handling than a lobster clasp before its spring starts to loosen, though the actual cycle life depends on the specific hardware’s construction and material.
If you’re building a keychain line meant to double as a bag charm, browse the full range of keychain styles to see which hardware options come standard with each material, since not every style pairs equally well with a pin-back or a clip-on mount.
Changing or Removing a Keychain Without Damage
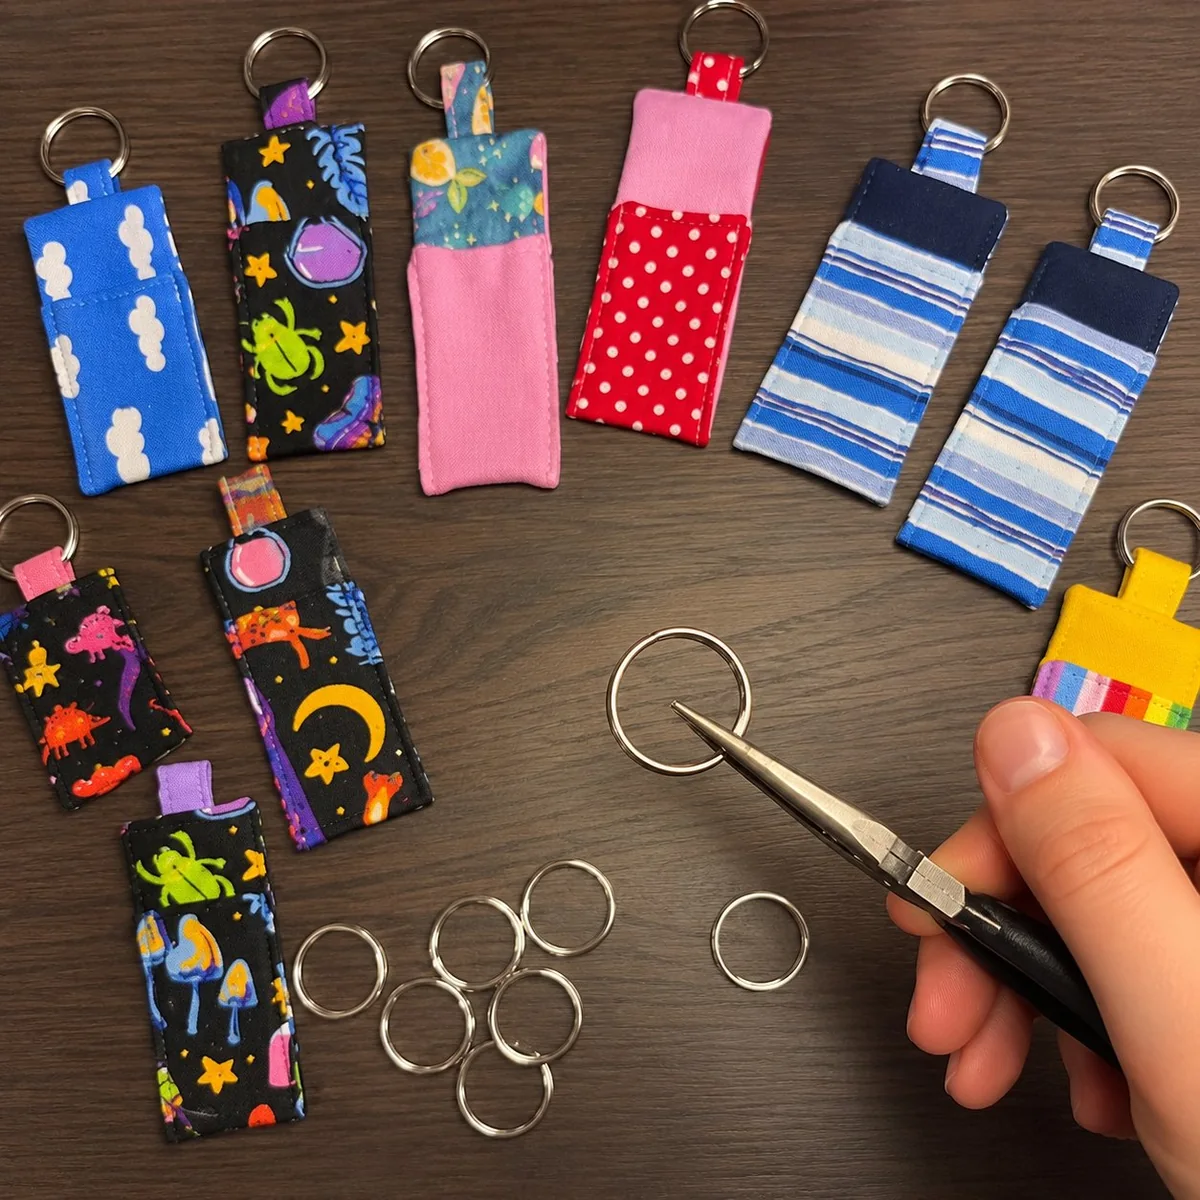
Swapping keys between rings is the same motion as opening one: find the gap, push the coil aside with a ring opener or flat-nose pliers, and slide the key off before sliding on the new one. Moving a charm between two different keychains works the same way if both sides use a split ring, but if one side uses a jump ring instead, use two pairs of pliers rather than your fingers, since a jump ring bends out of shape more easily under finger pressure alone.
To remove a charm without leaving a mark on a bag or backpack, unclip it at the hardware rather than pulling on the charm itself. Pulling on the charm puts stress on the strap loop or zipper pull it’s attached to, which is a more likely failure point than the keychain’s own hardware.
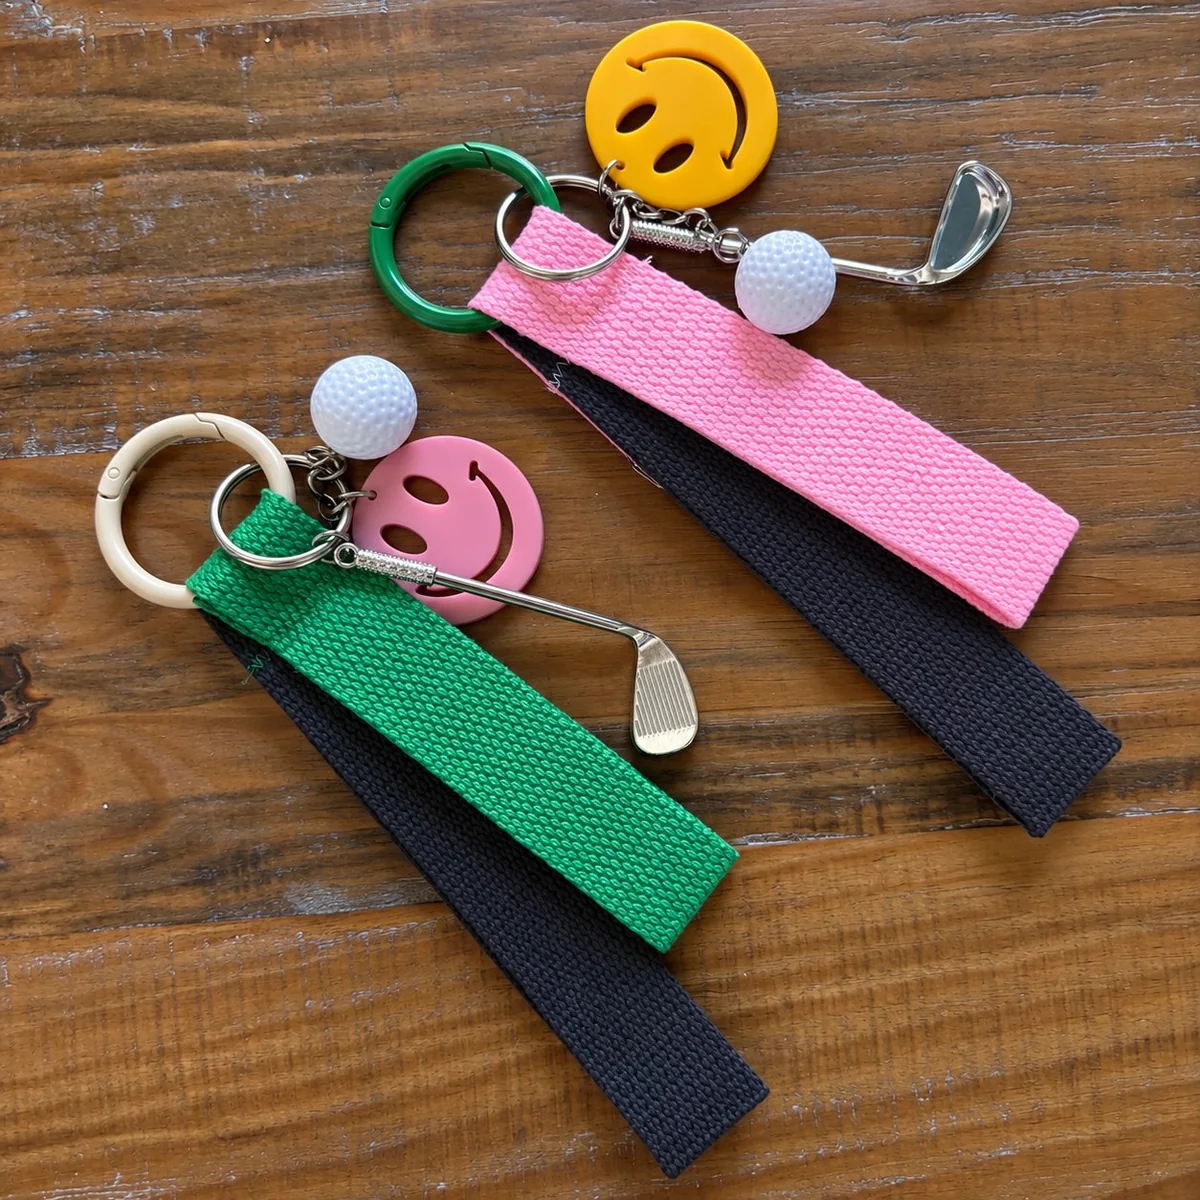
Choosing Hardware That Won’t Open by Accident
This is the procurement side of the question, worth reading separately if you’re speccing hardware for a custom order rather than just working with what shipped on your keys. Whether a ring opens too easily comes down to its material, wire gauge, and construction, not the type of ring alone, so a rating like “strongest” or “most durable” only means something next to a specific spec and test method.
| Ring/Clasp Type | Ease of Opening | Resistance to Accidental Opening | Ideal para | Confirm Before Ordering |
|---|---|---|---|---|
| Split ring (tempered steel) | Moderate, needs a tool or nail | Generally high once closed, varies by wire gauge | Standard keys, everyday keychains | Wire gauge and material grade |
| Jump ring | Low without pliers | Lower, can open under enough sideways pressure | Connecting a charm to a chain, not for daily key swapping | Wire gauge and whether it’s soldered or welded closed |
| Lobster clasp | Easy, one-handed | Moderate, depends on spring quality | Bag charms, detachable keychains | Spring construction and material |
| Trigger snap | Easy, one-handed | Generally high, spring-gate design | Belt loops, D-rings, heavier-use attachment | Load rating and material from the supplier’s test data |
Hardware strength varies by material, wire diameter, construction, and test method. Ask your supplier for the exact specification and any available test data, and don’t treat a breaking-load figure, the load at which a sample actually failed in a test, as the same thing as a safe day-to-day working load. Choose hardware by the load it actually needs to carry, how often it gets opened, and the direction it gets pulled from, rather than by the hardware’s name alone.
If you’re speccing a custom keychain and want hardware that won’t open accidentally in the field, ask your supplier about a thicker-gauge split ring or a trigger snap instead of the standard ring that ships with most stock designs, and request their test data for the specific gauge and material they’d be quoting.
How do you open a keychain ring easily?
Use a purpose-made ring opener or two flat-nose pliers, working slowly and protecting your fingers. A thumbnail or a flat-tool tip works too for a lighter grip ring, but avoid forcing it with a screwdriver, a knife edge, or your teeth. Ask your supplier for a thicker-gauge ring if you want one that opens with a tool but doesn’t pop open on its own.
How do you put a keychain on a keyring?
Open the ring the same safe way you would to remove a key, with a ring opener or flat-nose pliers, then slide the keychain’s loop onto the ring and let it settle onto the base coil. If the keychain itself has its own small attached ring, you’re connecting two rings together, so go slow to avoid bending either one.
How do you attach a keychain to a bag?
Most bag-ready keychains use a lobster clasp or trigger snap that clips straight onto a zipper pull, strap loop, or D-ring, no tool needed. If your bag doesn’t have an obvious loop, a small carabiner clip or a short chain extension solves that. Mention your bag’s exact attachment point when you’re speccing a custom keychain so the hardware matches.
How do you put keychains in an ita bag?
Before choosing pin-back or clip-on hardware, confirm the bag material, window construction, charm weight, and attachment point. Pin-back mounting punctures the window and suits flat, lightweight charms, while a clip-on avoids puncturing but needs an existing zipper pull or ring to hang from. If you’re designing an ita-bag-style charm, share your exact shape and weight with your supplier so they can recommend which mount actually fits.
How do you remove a key from a split ring?
Push the coil aside at the gap the same safe way you would to add a key, using a ring opener or flat-nose pliers, then slide the key off in the opposite direction it went on. Going slow at an angle beats forcing it straight through, since forcing it is what bends the ring out of round over time.
What is the strongest type of keychain ring?
There’s no single answer, since strength depends on the exact material, wire gauge, and construction a supplier uses, not the hardware type by itself. Ask for the specification and any available test data on the exact ring or clasp you’re being quoted, and specify the load and use case so your supplier can recommend hardware that’s actually rated for it rather than guessing from the name.
Get the Right Hardware on Your Next Keychain Order
HUASAN has built custom keychains for 15 years, since 2011, from its factory in Shenzhen, with more than 1,000 product styles and over 3,000 client cases across metal, PVC, leather, and fabric categories. Documentation and compliance support — including reports like RoHS and CE, with FDA food-contact documentation where it applies — depend on the material, destination market, and order specification. Confirm the applicable reports and certificate scope for your exact product before production, since being able to provide documentation is not the same as a product carrying a blanket certification.
Next step: send your attachment point, charm weight, and use case for a free hardware recommendation and quote, whether you are matching a specific ring or clasp to a bag, belt, or ita bag mount or speccing hardware for a custom keychain line from scratch.